In this tutorial, we will look how we can deploy an EC2 instance, assign an Elastic IP (static public IP), enable port access for SMTP / IMAP communications and more, to configure the infrastructure for self-hosting a private email server.
Pre-Requisites Link to heading
- Have an AWS Account and basic knowledge on how to setup an EC2 instance in AWS.
- Know about mail protocols and how mail communication works.
If you have any other cloud provider as your preference feel free to jump to the Setting up the Mail Server
I recommend you setup a budget for this Lab exercise (even though we are gonna go with t3.micro instance) as it’s always better to be safe than sorry 😄
Key Components Link to heading
- EC2 (Mail Server Instance; Deployed in the default VPC).
- iRedMail (The Mail Server; Will be deployed and configured EC2)
- Elastic IP (recommended for mail servers to have a static DNS configuration)
- Security Groups (To allow communications across network.)
Setting up the Mail Server Instance Link to heading

Make sure before creating any resources you shift to the region closest to you for best experience.
Setting up VPC (Optional) Link to heading
Only because I don’t like the default address space of 172.16.x.x/16 🙃
To setup a VPC, open VPC from your AWS Console and follow along:
Create VPC- Resources to create: VPC and more
- Name: CGA-vpc (Uncheck the Auto-Generate option)
- IPv4 CIDR block: 10.0.1.0/27
- IPv6 CIDR block: No IPv6 CIDR block
- Tenancy: Default
- VPC Encryption: None
- Number of AZs: 2 (As in a later post we will practice multi-az deployment for another ec2 instance to make sure our mail server is reliable).
- Pick the AZs you like, I picked
aandb
- Pick the AZs you like, I picked
- Number of public subnets: 2
- Number of private subnets: 0
- Customize CIDR Blocks:
10.0.1.0/28,10.0.1.16/28 - NAT Gateways: None
- VPC Endpoints: None
- Click
Create VPC.
Your created VPC should look like this:
Configuring default Security Group Link to heading
- In the sidebar, under the
Securitysection click onSecurity Groups. - You should notice 2 security groups, (one for default VPC, and one for your newly created VPC) rename the one associated with the newly created VPC.
- In the inbound rules, ensure All Traffic is allowed from the internet for All port ranges and All protocols.
- Same in outbound rules, ensure All Traffic is allowed to the internet for All port ranges and All protocols.
Provisioning EC2 Link to heading
Let’s start by creating a new EC2 instance, by click “Launch Instance” button on the EC2 page.
- In the Name and tags field, enter Mail Server.
- Under Amazon Machine Image, select Ubuntu 24.04 (iRedMail installer doesn’t support Amazon Linux 2023. Don’t make the mistake that I did 🙃).
- In the Instance Type dropdown, choose t3.micro.
- Under Key Pair Name, click Configure a key pair and select or create the key pair you will use to access the instance.
- Under Network Settings, configure the following:
- VPC: CGA-vpc
- Subnet: CGA-subnet-public1-ap-south-1a
- Auto-assign Public IP: Disable (Will be assigning Elastic IP later on.)
- Security Group: Select the existing security group and select the only available option.
- Configure Storage: 30GB
- Can leave everything as default. Click
Launch Instance.
Well, we can’t quiet connect to the EC2 instance via our local machine as it does not have a public IP availabe on it.
Allocate an Elastic IP. Link to heading
- In the sidebar, under the
Network & Securitysection, select Elastic IPs. - On the Elastic IPs page, click
Allocate Elastic IP Address. - Make sure the region is selected as the one you deployed your VPC and EC2 under. Click
Allocate - Click on the checkbox next to the IP in the portal. Click
Actions>Associate Elastic IP Address. - Select your
Instance, and thePrivate IP Addressthat is auto-allocated to the mail instance.- Make sure the
Re-associationcheckbox is unchecked.
- Make sure the
- Click
Associate.
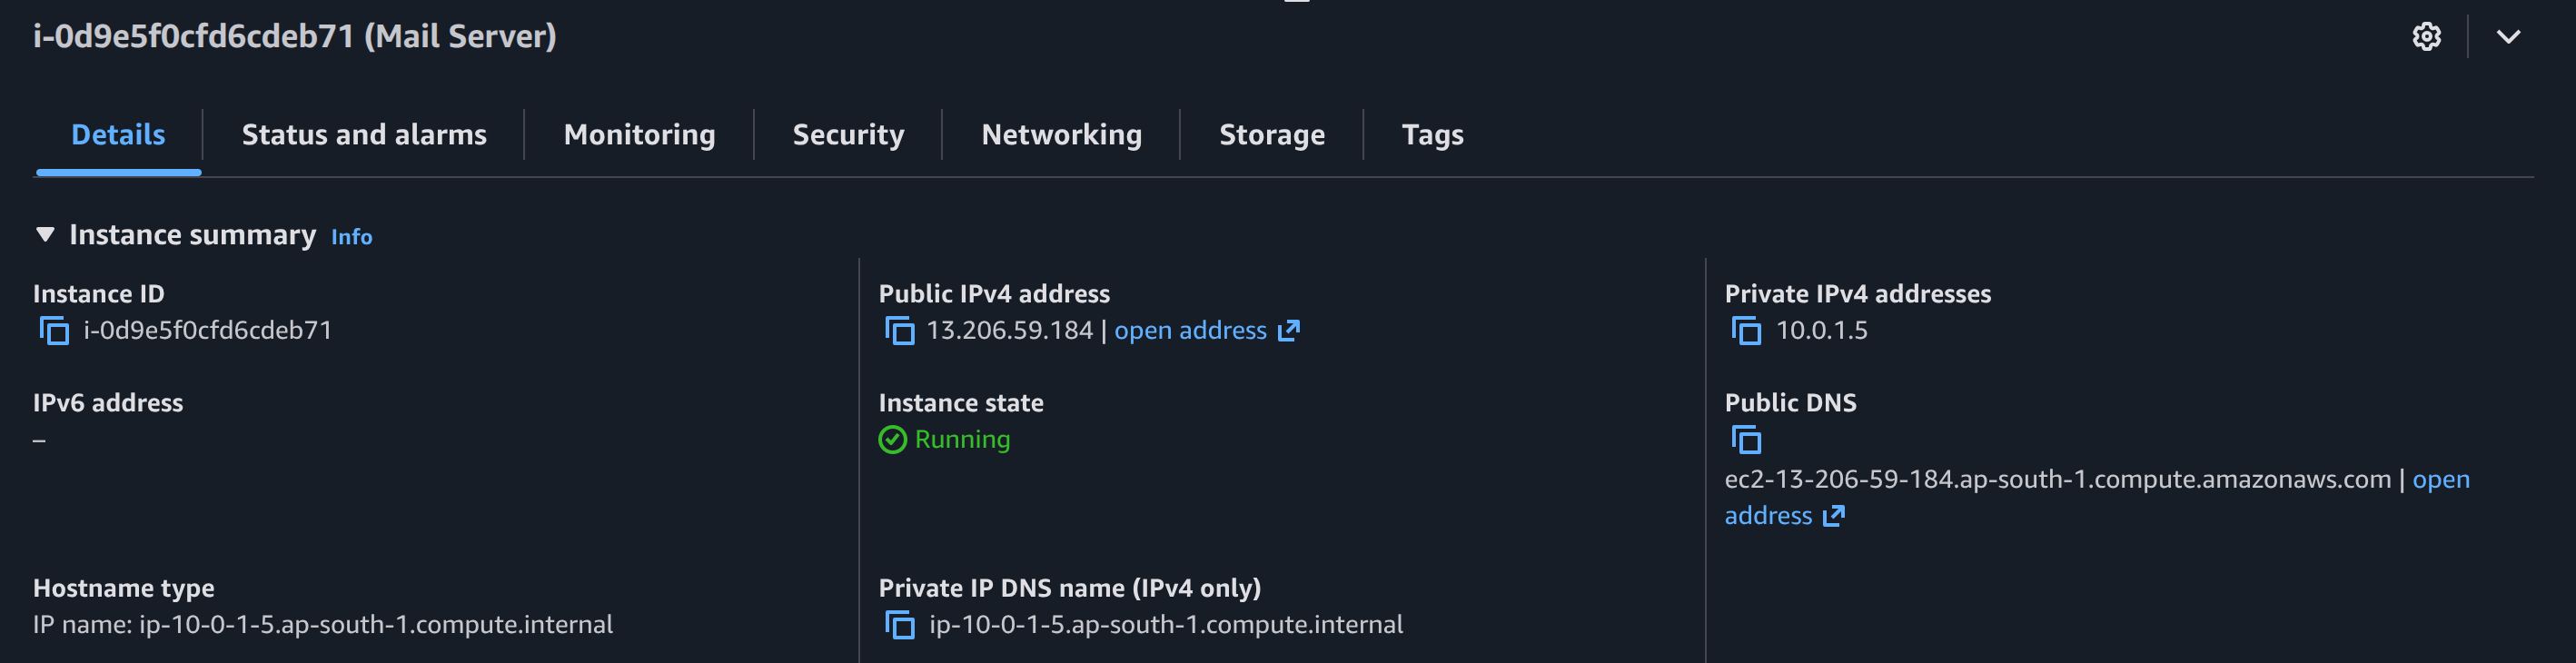
Verify everything is setup correctly, by logging into the EC2 instance via ssh.
Verifying with SSH connection to EC2 Link to heading
Before connecting to the EC2 instance, make sure that the private key has the right permissions -rw-------. If not run the following command:
chmod 600 <private key>
Then connect to EC2 via ssh using the following command:
ssh -i ./<private key> ubuntu@<elastic-ip>

Following the next post we will be configuring iRedMail on the EC2 instance web server. If you want to keep reading further checkout the complete series here.